Camera Settings Explained for Beginners
Most beginners don’t struggle with photography because it’s difficult — they struggle because they’re trying to learn too much at once.
Modern cameras are filled with settings, menus, and options that make it feel like you need to understand everything before you can take a good photo. In reality, only a small number of settings actually matter, and once you focus on those, photography becomes much easier to understand.
Photography beginners often feel overwhelmed when they first start learning camera controls. This is why having camera settings explained in simple terms is so important.Modern cameras include many buttons, dials, and menu options, and it can be difficult to understand which settings actually matter when taking a photograph.
This is why having camera settings explained in simple terms can make such a big difference. Instead of trying to memorise every feature on the camera, photographers only need to understand a small number of core controls that directly influence how an image is captured.
At the heart of almost every photograph are just a few key adjustments that determine how bright the image appears and how the scene is recorded. These controls allow photographers to decide how motion is captured, how much of the image is in focus, and how the camera responds to different lighting conditions.
Many of these ideas connect directly with the exposure triangle concept, which describes how aperture, shutter speed, and ISO work together to control exposure.
Once you understand this small group of settings that truly matter, camera controls start to feel far less complicated. More importantly, you begin to recognise patterns in how settings behave, which makes decision-making much easier in real situations.
In this guide, we’ll walk through the most important camera settings for beginners, explain what they do, and show how photographers actually choose them when taking a photograph.
Why Camera Settings Explained Simply Matters for Beginners
For many people, learning photography feels confusing at first because modern cameras offer so many different controls. When a beginner looks at the camera body or menu system, they might see dozens of options such as ISO, aperture, shutter speed, white balance, focus modes, metering modes, and more.
Because of this, it is easy to assume that good photography requires understanding every setting immediately. In reality, most photographers rely on just a small number of important controls, especially when they are first learning camera settings for beginners.
Another reason photography feels complicated is that the names of the settings are not always intuitive. Terms like aperture, ISO, and shutter speed can sound technical if you have never encountered them before. Without a clear explanation, these controls can feel like abstract numbers rather than practical tools that shape the final image.
Many beginners also rely heavily on automatic camera modes at first. While automatic modes can produce good results in many situations, they hide the decision-making process behind the photograph.
Once these controls are properly understood, the process becomes much simpler. You stop guessing and start making decisions based on what the scene needs.
Most photography education resources emphasise that learning just a few key controls is enough to start improving your photos. Even Nikon’s Learn & Explore guides highlight that mastering the core settings is what allows photographers to move beyond automatic shooting.
The goal of this guide is to explain camera settings in a practical way so that beginners can focus on the controls that actually make the biggest difference.
The 3 Most Important Camera Settings
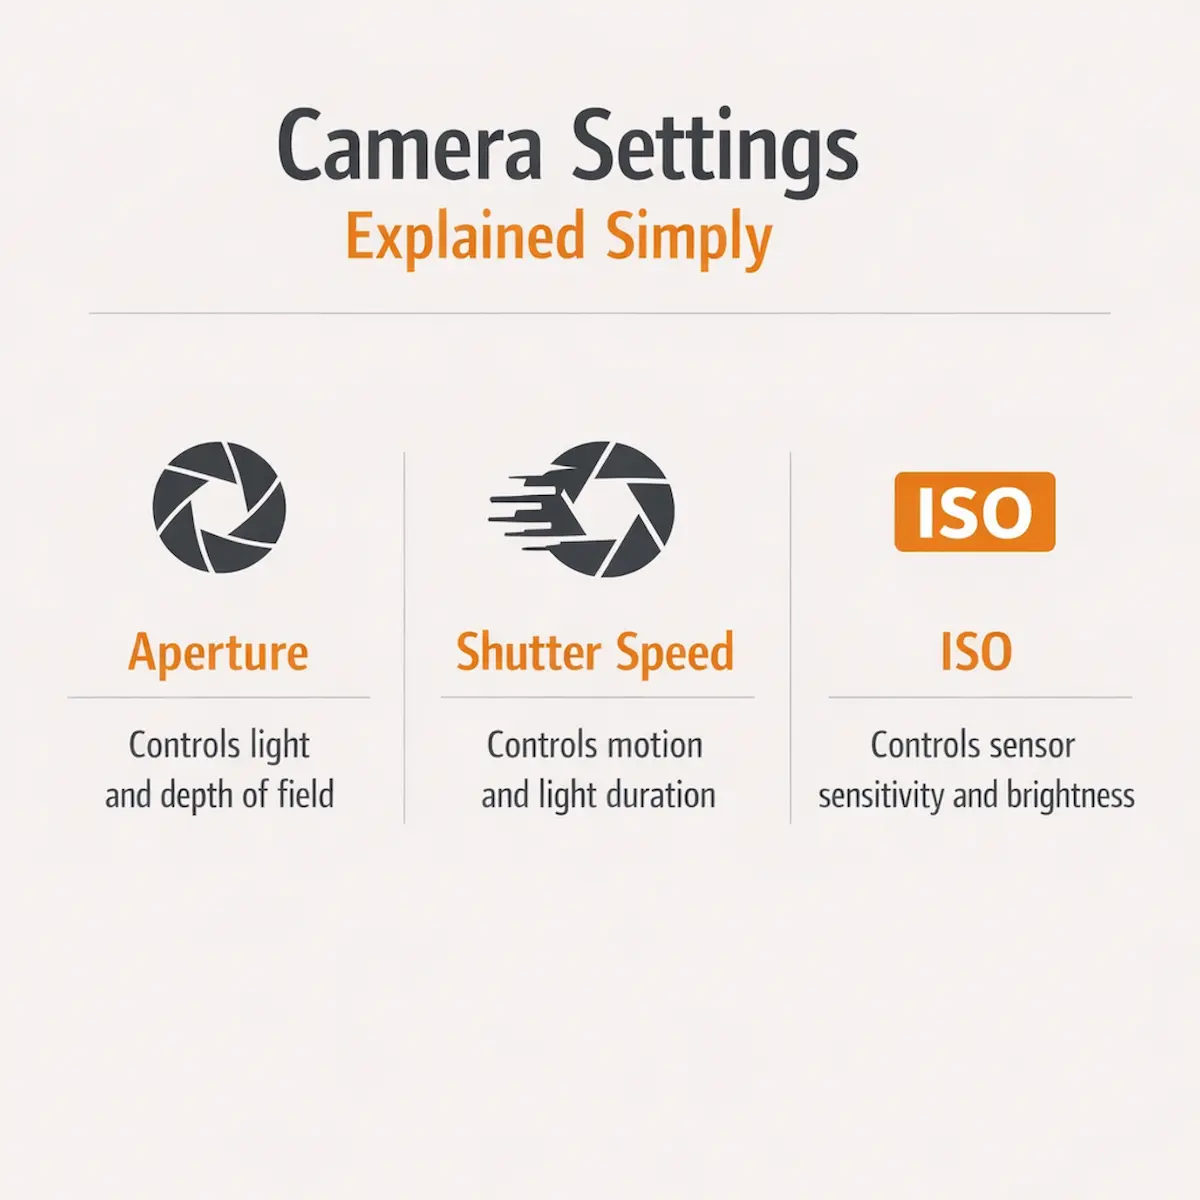
Although modern cameras include many buttons, dials, and menu options, most photographs are shaped by just three core controls: aperture, shutter speed, and ISO. When these are clearly understood, photography starts to feel far more predictable.
These three settings matter because they control both the brightness of the photograph and the way the final image looks. In practical terms, they determine how much light reaches the camera sensor and how the scene is recorded.
Aperture controls the opening inside the lens. When the aperture opens wider, more light passes through the lens and reaches the sensor. A wider aperture can also create a shallow depth of field, which causes the background to blur while the subject remains sharp. When the aperture becomes smaller, less light enters the camera, but more of the scene stays in focus.
Shutter speed controls how long the camera sensor is exposed to light. A fast shutter speed allows the camera to capture a moment very quickly, which helps freeze motion when photographing moving subjects. Slower shutter speeds allow more light into the camera but can also introduce motion blur if the subject or camera moves during the exposure.
ISO controls how sensitive the camera sensor is to light. A low ISO value generally produces the cleanest image with the least digital noise. Increasing ISO allows the camera to capture brighter images in darker conditions, although higher ISO settings may introduce grain or texture into the photograph.
Because these three controls all influence exposure, they are closely connected. When photographers change one setting, they often need to adjust another to keep the image balanced.
Understanding how these settings interact is the foundation of photography, and it becomes much easier once you understand the exposure triangle explained concept that links them together.
How to Start Using Manual Mode
For many beginners, switching away from automatic camera modes can feel intimidating. Cameras include options like aperture priority, shutter priority, and full manual mode, and it can be difficult to know where to begin.Learning manual mode becomes much easier once camera settings explained concepts are understood clearly.
However, once you understand how these controls work together, manual shooting becomes much more straightforward than most people expect.
Manual control means the photographer decides how aperture, shutter speed, and ISO are balanced instead of letting the camera make those decisions automatically. This gives far more control over how the final photograph looks.
A simple way to approach manual shooting is to follow a consistent order rather than adjusting settings randomly.
The first decision is usually aperture, because it affects depth of field. If you want a blurred background for a portrait, you might choose a wide aperture such as f/2.8. If you want most of the scene in focus, such as in a landscape photo, you might choose f/8 or f/11.
Next, select a shutter speed that suits the subject you are photographing. If the subject is moving, such as people walking or vehicles passing, a faster shutter speed may be needed to freeze motion. If the subject is still, you may be able to use a slower shutter speed to allow more light into the camera.
Finally, adjust ISO to balance the exposure. ISO is often the easiest setting to adjust last because it allows you to brighten the image without changing the other creative choices you have already made.
What matters here is not memorising exact numbers, but learning to recognise what the scene needs and adjusting accordingly.
If you want to go deeper into this process, our guide to manual camera settings for beginners explains how photographers take full control of exposure when working outside automatic modes.
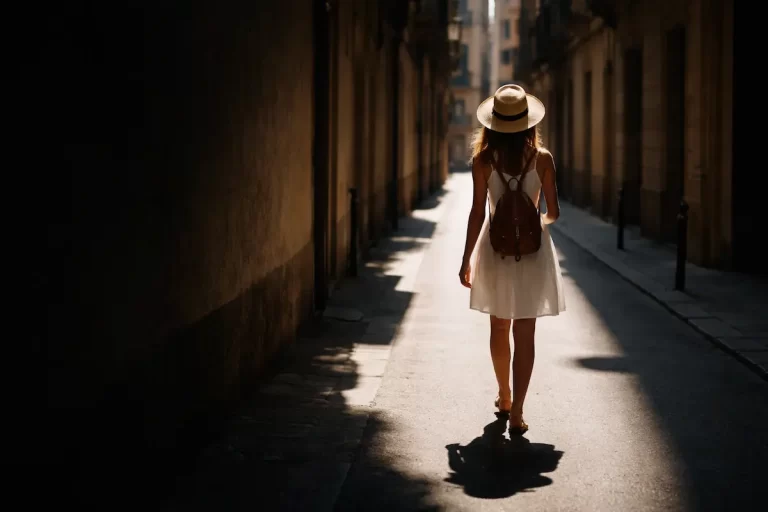
Beginner Camera Settings for Daylight
Bright daylight is one of the easiest situations for beginners to start learning camera controls. When plenty of light is available, it becomes much easier to experiment without worrying about dark or blurry images. These examples show how camera settings explained principles apply in real shooting conditions.
A common starting point for outdoor photography is to keep ISO low, usually around ISO 100. In bright conditions, the camera does not need extra sensitivity, and a lower ISO produces the cleanest possible image.
Next, choose an aperture that suits the type of photograph you want to take. For landscapes or travel scenes, many photographers use an aperture around f/8. This setting keeps much of the scene in focus and generally produces very sharp results.
For portraits or photos where you want a softer background, a wider aperture such as f/2.8 or f/4 can help separate the subject from the background.
Shutter speed can then be adjusted to balance the exposure. In daylight, it is common to see shutter speeds such as 1/250, 1/500, or faster, depending on how bright the scene is. These speeds are usually fast enough to avoid motion blur when holding the camera by hand.
When moving between locations, photographers naturally adjust these settings as the light changes rather than keeping them fixed.
If you want to explore this further, our guide to travel photography camera settings explains how photographers adapt settings while shooting on the move.
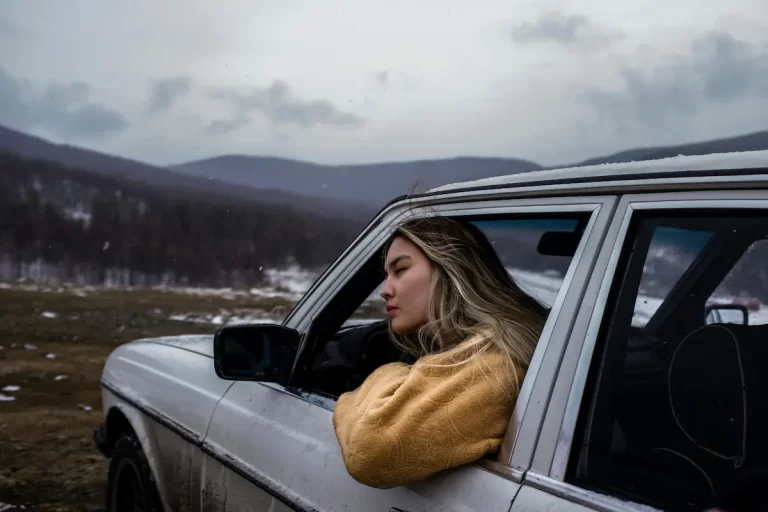
Beginner Camera Settings for Low Light
Low light is one of the situations where understanding camera settings becomes especially important. When there is less light available, the camera must work harder to capture a properly exposed image.Low light situations are where camera settings explained becomes especially useful in practice.
The first adjustment many photographers make in darker conditions is opening the aperture wider. A wider aperture, such as f/2.8 or f/1.8, allows significantly more light to enter the camera compared to smaller apertures like f/8 or f/11.
Another option is to reduce the shutter speed, allowing the sensor to collect light for a longer period of time. For example, instead of using 1/500 of a second, a photographer might use 1/125 or 1/60 of a second. Slower shutter speeds can help brighten the image, although they increase the risk of motion blur.
Finally, photographers often increase ISO to compensate for darker environments. Raising ISO from 100 to 800, 1600, or higher allows the camera to capture a brighter image without changing aperture or shutter speed. The trade-off is that higher ISO values can introduce noise into the photograph.
These adjustments are often used together. A photographer might open the aperture, slightly slow the shutter speed, and raise ISO to achieve a balanced exposure.
Understanding how to combine these adjustments is a key step in becoming more confident in difficult lighting.
If you want a deeper breakdown, our guide to low light photography camera settings shows how photographers handle these situations in real conditions.
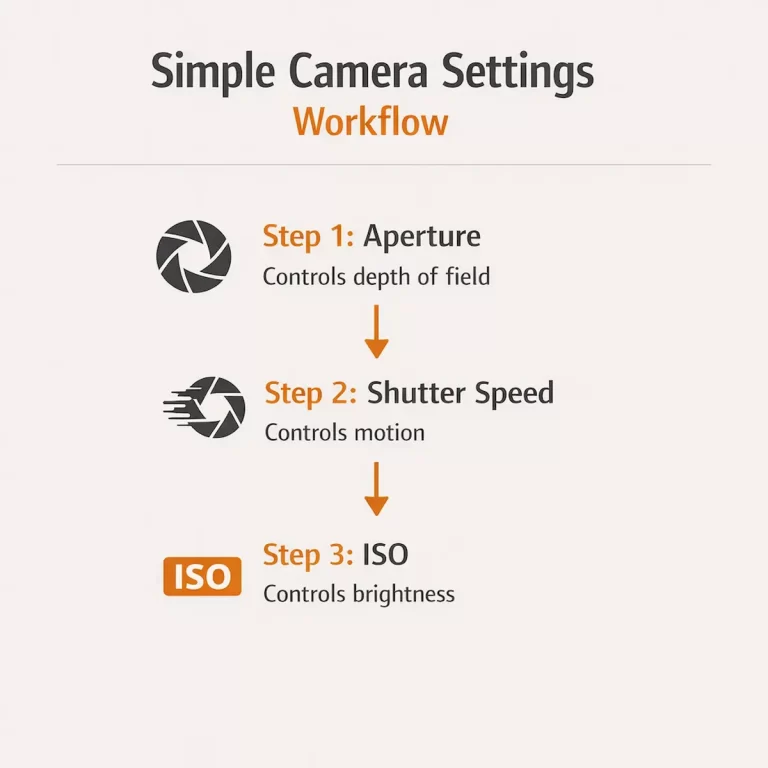
A Simple Workflow for Choosing Settings
One of the easiest ways to become comfortable with camera controls is to follow a simple decision process each time you take a photograph.This simple process reflects how camera settings explained works in real-world photography.
A practical workflow begins with thinking about the type of image you want to create. Ask yourself what matters most in the scene.
Is the subject moving quickly?
Do you want a blurred background?
Or do you want most of the image to remain sharp?
If motion is important, shutter speed is usually the first setting to consider. Faster shutter speeds help freeze movement, while slower speeds allow motion blur.
If depth of field is more important, aperture becomes the priority. A wider aperture can isolate a subject from the background, while a narrower aperture keeps more of the scene in focus.
Once those creative decisions have been made, ISO can be adjusted to balance the exposure.
The goal is not perfect settings — it is making better decisions for the situation in front of you.
If you are just starting out, our complete guide to beginner camera settings explores more real-world examples of how photographers choose settings.
For a complete set of quick-reference guides covering camera settings, exposure, and travel photography, explore the Photography Cheat Sheet Bundle designed to support real shooting situations.
If you want to go deeper into how photographers think in real shooting situations, the ebook The Confident Photographer – Taking More Photos Worth Keeping breaks down the decision-making behind images you actually want to keep.
Common Mistakes Beginners Make With Camera Settings
Even after understanding the basic camera settings, many beginners still struggle to get consistent results. This is not because the settings are too complicated, but because it takes time to recognise how they apply in different situations.
One of the most common mistakes is trying to change too many settings at once. When everything is adjusted randomly, it becomes difficult to understand what is actually affecting the image. A better approach is to change one setting at a time and observe how it impacts the result.
Another common issue is relying too heavily on memorised settings instead of responding to the scene. While starting points such as “ISO 100 in daylight” or “f/8 for landscapes” are useful, they are not fixed rules. Lighting conditions, subject movement, and the environment all influence the final result.
Many beginners also struggle with shutter speed in situations involving movement. Using a shutter speed that is too slow can introduce motion blur, even when the subject appears relatively still. On the other hand, using a shutter speed that is too fast may reduce available light unnecessarily.
ISO is another area where beginners often hesitate. Some avoid increasing ISO because they are concerned about noise, which can result in images that are too dark. In many situations, a slightly higher ISO with a properly exposed image will produce a better result than a darker image with less noise.
Another frequent challenge is depth of field. Beginners may choose an aperture without fully understanding how it affects focus across the image. This can lead to situations where only part of the subject is sharp, or where too much of the background is in focus when separation was intended.
The key point is that these mistakes are part of the learning process. They are not failures, but feedback that helps you understand how the camera responds.
Over time, you start to recognise patterns. You begin to anticipate what settings are needed before you even raise the camera. This is where photography starts to feel more natural and less mechanical.
Frequently Asked Questions About Camera Settings
What are the most important camera settings for beginners?
The most important camera settings for beginners are aperture, shutter speed, and ISO. These three controls determine how bright your image is and how the photo looks in terms of motion and focus. Once you understand these, most other settings become much easier to learn.
What is the exposure triangle in photography?
The exposure triangle refers to the relationship between aperture, shutter speed, and ISO. These three settings work together to control exposure, meaning how light or dark your photo appears. Changing one setting usually requires adjusting another to keep the image balanced.
Should beginners use manual mode or auto mode?
Beginners can start with auto mode, but learning manual mode is important for long-term improvement. Manual mode allows you to control how the image is captured instead of relying on the camera to make decisions. Even using semi-automatic modes like aperture priority is a good step forward.
What is a good camera setting for daylight photography?
A common starting point for daylight photography is ISO 100, an aperture around f/8, and a shutter speed between 1/250 and 1/500. These settings usually produce sharp, well-exposed images in bright conditions, although they should still be adjusted depending on the scene.
What settings should I use for low light photography?
In low light, photographers typically use a wider aperture (such as f/2.8), a slower shutter speed (such as 1/60 or lower), and a higher ISO (such as 800 or above). These adjustments help the camera capture more light, but they need to be balanced to avoid blur and excessive noise.
Why are my photos blurry even with correct settings?
Photos are often blurry because the shutter speed is too slow for the situation. Movement from the subject or slight camera shake can cause blur. Increasing shutter speed or stabilising the camera can help solve this problem.
How do I remember camera settings when shooting?
The easiest way to remember camera settings is to follow a simple workflow: choose aperture based on depth of field, adjust shutter speed based on movement, and then use ISO to balance exposure. With practice, this process becomes natural and much faster to apply in real situations.